List of Centralized Interfaces
As a part of the design system we have templatized certain user interfaces that are part of the core ux, they are as follows:-
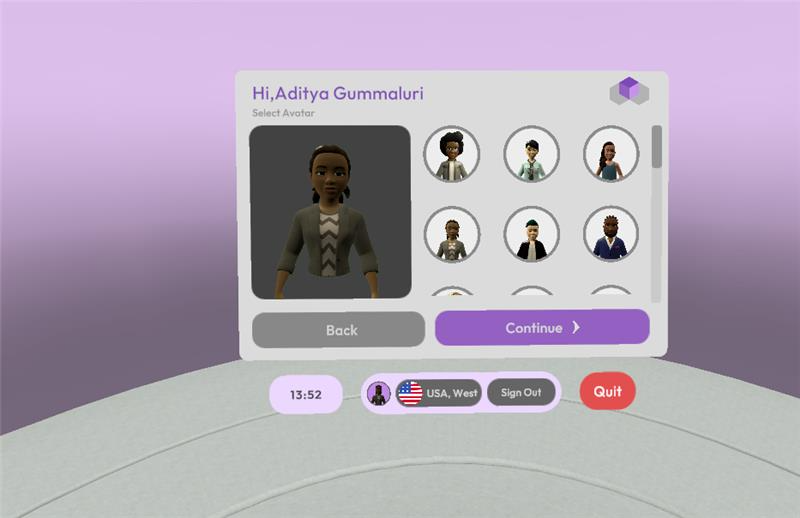
Main Menu & Login Flow
-
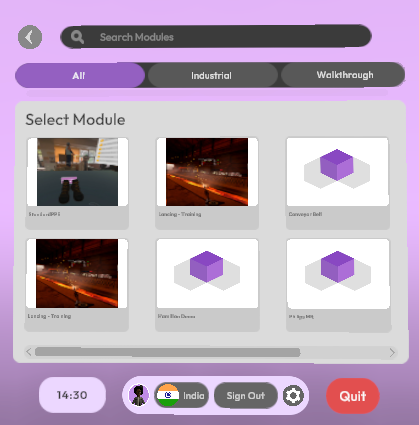
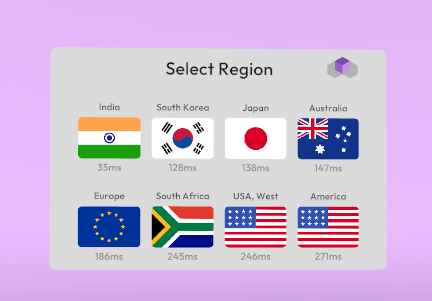
Module Selection Screens
-
Settings and Configurations
- Watch UI
- Checklists and MCQ Panel
Color Palette
The entire UI can be custom configured to colors and branding of your liking centrally using this feature.GlobalUIColorConfig
You can find this file in Unity toolbar at Tools>AutoVRse>GlobalUIColorConfig. You will see a window like this appear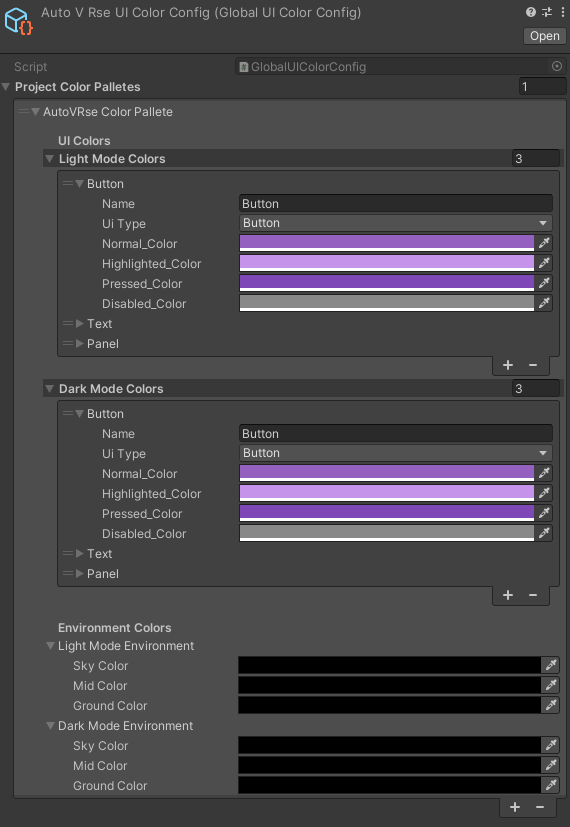
UI Element Collector
As a part of the setup you must add this script to every scene that must be tracked to detect and apply centralized UI configuration as set in above GlobalUIColorConfig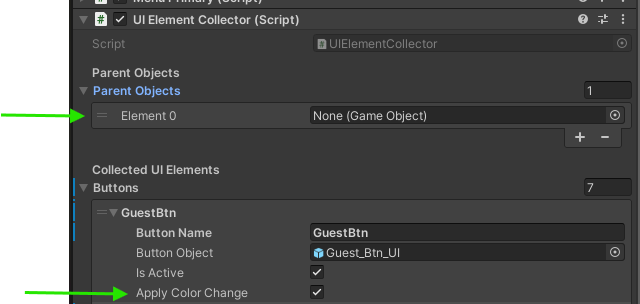
- Create an Empty Gameobject on your scene
- Add the Script “UIElementCollector”
- Press the Collect UI Elements button
UIColorPaletteManager
Add this script to your scene, this will help control color palette related operations on the scene.- Add an empty gameobject on your scene
- Add the script “UIColorPaletteManager”
- Now you can use Apply Light Mode or Apply Dark Mode buttons to switch between themes. You can also Reset to Default (Light Mode) if needed.
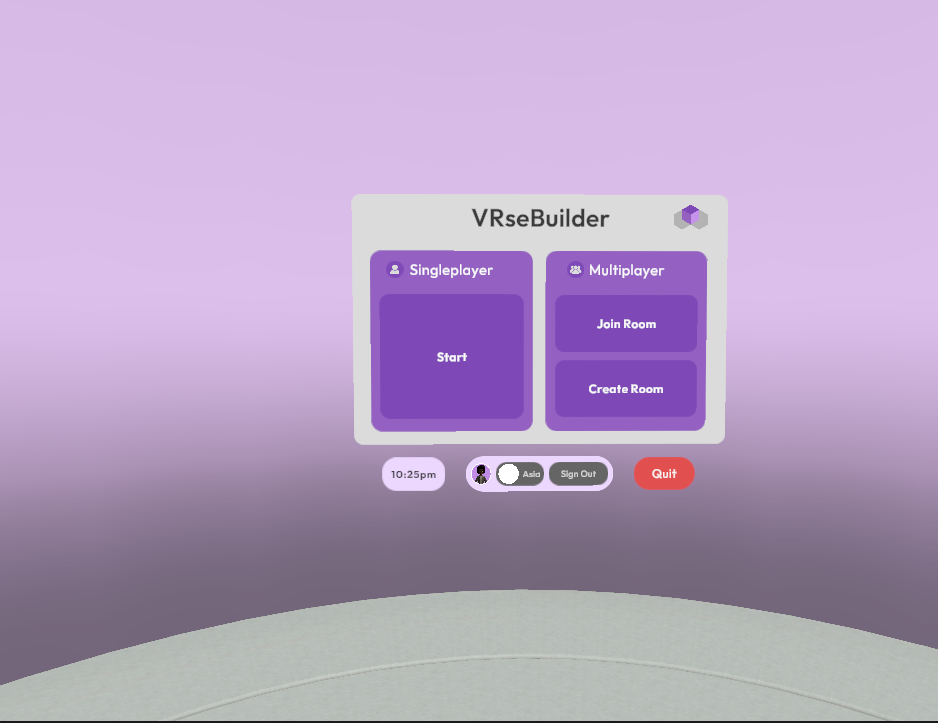
Main Menu
The main menu in a VR app made with VRse Builder serves as the starting point for users. Here, they can choose and launch the experience they wish to try. All available experiences are configured to be listed in this scene upon entering the app. Below are the steps to add main menu to your application.Step 1: Adding New Main Menu
- Navigate to
Assets/Core/Scenes/Menu.unity. - Open the menu scene.
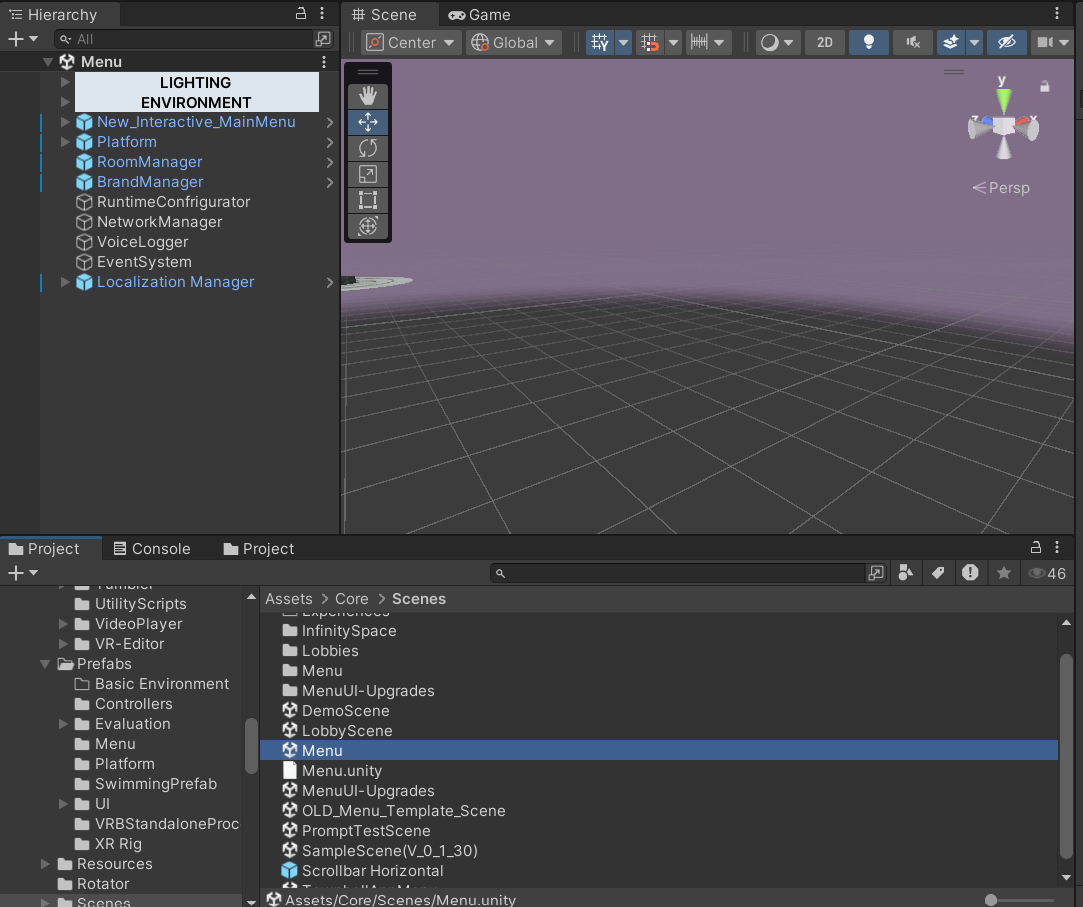
- Create a duplicate of the scene, rename it and move it your project folder.
Step 2: Project Config , Room Config & Brand Config Setup
- Right-click on the project and go to Create > AutoVRse > VrseBuilder to create the ProjectConfig, RoomManager Config, and BrandConfig.
- Assign the Created RoomConfig & BrandConfig in the Project Config File.
- In the RoomConfig , In the Experiences Section , Fill up the required details like ,Module Name, Index, And assign the Dev, Art 0r Evaluation scene based on the module. Note : Ensure that the assigned scenes in the config are already included in the build settings.
- And Now in the BrandConfig, Assign the Brand Logo Sprite & Decal texture (optional).
- In the BrandConfig, you have the flexibility to edit the default Dark and Light mode Colors to align with your project’s requirements. These customized color properties will influence all user interfaces, including the MainMenu, ExperiencePanel, Checklist, and MCQ Panel. For details on setting up the dark and light mode switching system, see the link below: Dark and Light Mode Setup
Step 3: Configuring the Room Manager
- Find the RoomManager script in the Inspector of the RoomManager GameObject.
-
And Assign your required Room & Project Config Files in the Script
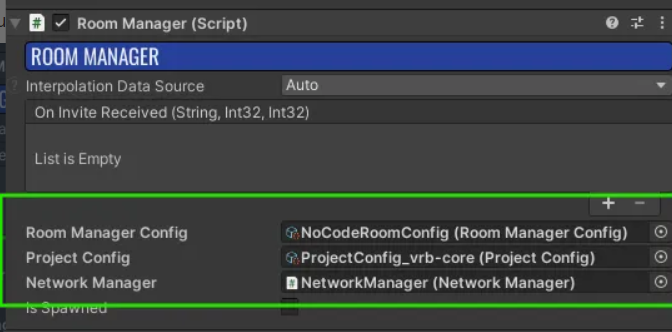
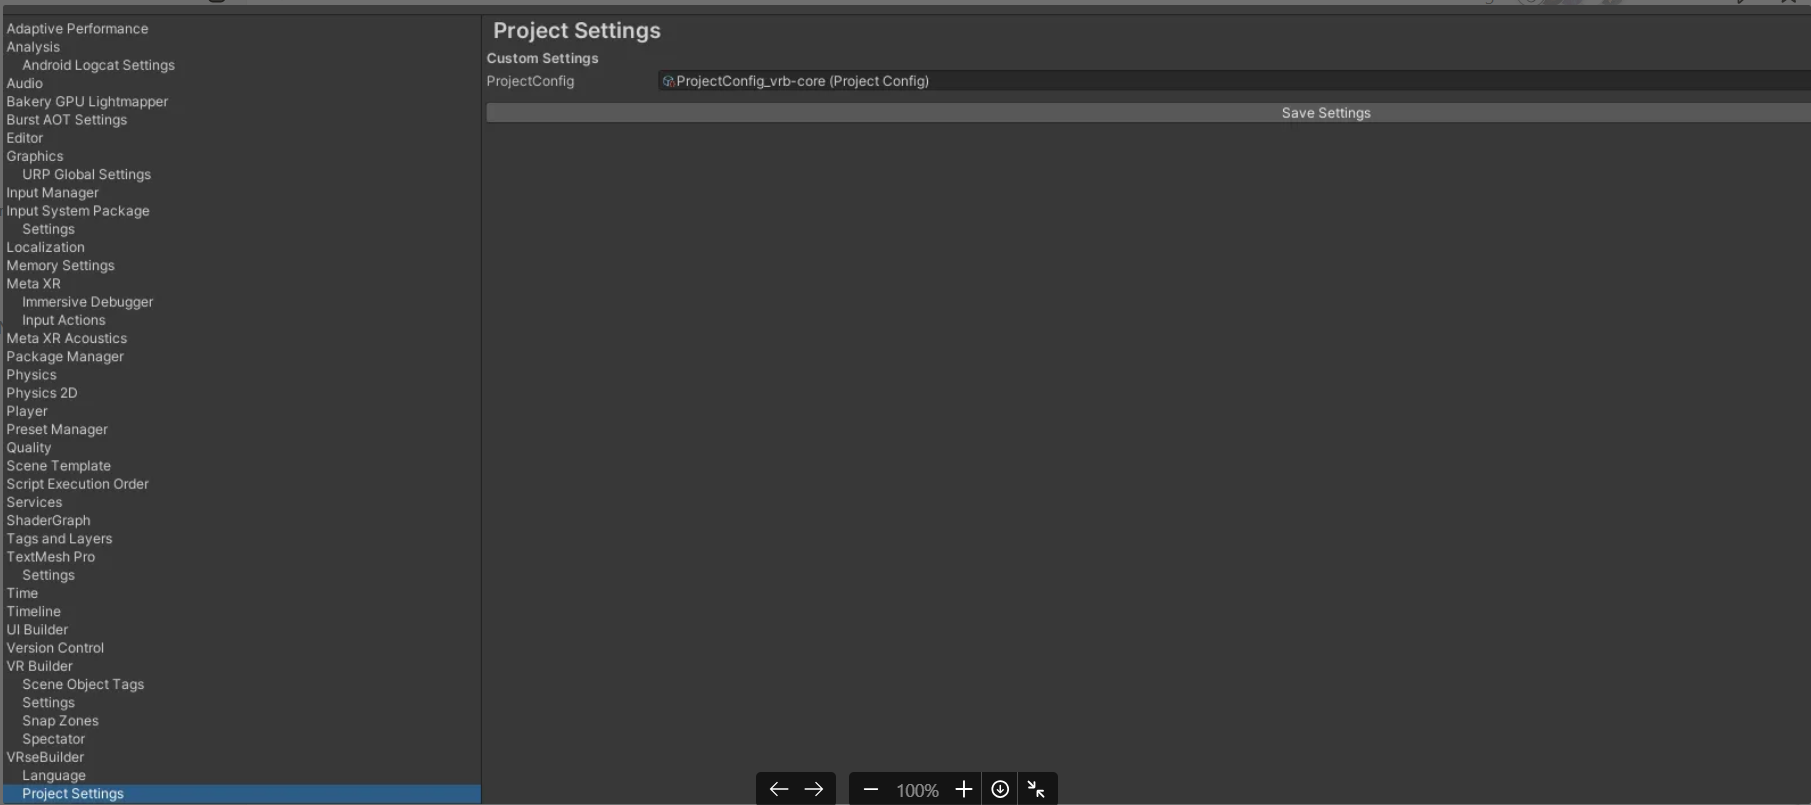
- And make sure same project config being assigned in the Edit/Project settings/VrseBuilder/ Project settings
Step 4: Configuring the Platform & Vrt Api
- To find the Vrt Api script, navigate to the Platform Game Object.
- In the Vrt Api Script, there are two URL fields:

Based on the Development Build Flag , The Login API will be changed automatically. Its Preferable for internal testing mark the build as Development Build ,For Release builds Uncheck the option.

- Development URL: For internal testing using the dev dashboard.
- UAT (User Acceptance Testing): For internal testing using the client dashboard.
- Production URL: Main URL (in progress, yet to be released).
- Next, Change the login Method based on project login type in the Platform new Script.
Step 5: Play the Scene
On Playing the Scene , The new menu includes a guest login option. Here’s how it works:- Selecting Sign In will display the appropriate login UI based on the chosen login type.
- Selecting Continue as Guest will automate the login process, immediately displaying the module.

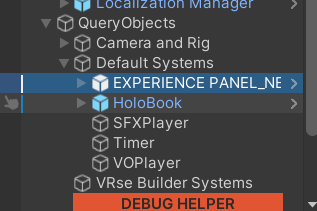
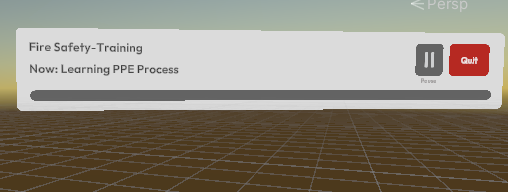
Experience Panel
The experience panel is a spatial UI element placed near the user to display key details about the ongoing story. It provides information such as the current chapter, moment, and overall progress. For clear readability, the panel should always stay close to the user and move with them when they teleport. Additionally, it offers options for quitting the experience and returning to the main menu. The experience panel is part of the default systems that come automatically when the scene is set up using the VRseBuilder Automation tool.