> ## Documentation Index
> Fetch the complete documentation index at: https://docs-vrsebuilder.autovrse.app/llms.txt
> Use this file to discover all available pages before exploring further.
# Environment Setup
> Getting ready for VRse Builder on your workstation
Currently the VRseBuilder Unity SDK is shared as a ZIP file (lame, we know). Stay tuned for the Automatic SDK Updater.
The ZIP file is an entire Unity project, so you MUST start your VR module with the zipped Unity project. If you have your assets present in another project, we recommend creating a package of assets and then importing them into the new project.
### Workstation Requirements
| | Recommended |
| -------------------- | --------------------------------------------------- |
| **Processor** | Intel i7 11th Gen / AMD Ryzen 7 processor or better |
| **RAM** | 16GB (32GB Recommended) |
| **Graphic Card** | NVIDIA GTX 1070 / AMD Radeon RX 5700 or better |
| **Hard Disk** | 100 GB free disk space |
| **Operating System** | Windows 10/11 |
VRse Builder is supported on Mac and other Linux based OS as well, you may need to contact support to help you setup the same
\
However, '[Meta Quest Link](https://www.meta.com/en-gb/help/quest/509273027107091/?srsltid=AfmBOoqhRTTATmv6vsdCVV6Dcaf62DAi74QVT4awO0UeZJ6bfibC0wcp)' feature will not work on Mac or any Linux based OS
### Install using ZIP
1. **Download Unity Hub**:
* Visit Unity Hub's official website and download the latest version of Unity Hub for your operating system.
* Steps referenced from Unity learn program: [https://learn.unity.com/tutorial/install-the-unity-hub-and-editor#](https://learn.unity.com/tutorial/install-the-unity-hub-and-editor#)
2. **Open Unity Hub**:
* Launch Unity Hub and log in to your Unity account. If you don’t have one, you’ll need to create an account.
3. **Install Unity 2022.3.50f1**:
* In Unity Hub, go to the **Installs** tab on the left panel.
* Click on **Add** (top-right corner).
* A new window will open. Select **Unity 2022.3.50f1** from the list of versions.
* If the version is not listed, click on **Download Archive**, which will redirect you to the Unity Download Archive.
* Locate and download **Unity 2022.3.50f1** from the archive page.
* Once the download is complete, the installation will appear under the **Installs** tab.
* Remember to download the editor version with **android** module.
1. **Locate the Project Folder**:
* After unzipping, locate the extracted project folder. Ensure that this folder contains the **Assets**, **ProjectSettings**, and other Unity project files.
2. **Open Unity Hub**:
* In Unity Hub, go to the **Projects** tab.
3. **Add Your Project**:
* Click on **Add Project** (top-right corner).
* Navigate to the location where you unzipped the project folder and select it.
4. **Open the Project**:
* The project should now be listed under the **Projects** tab.
* Click on the project name to open it. Unity will take a few moments to load and open the project.
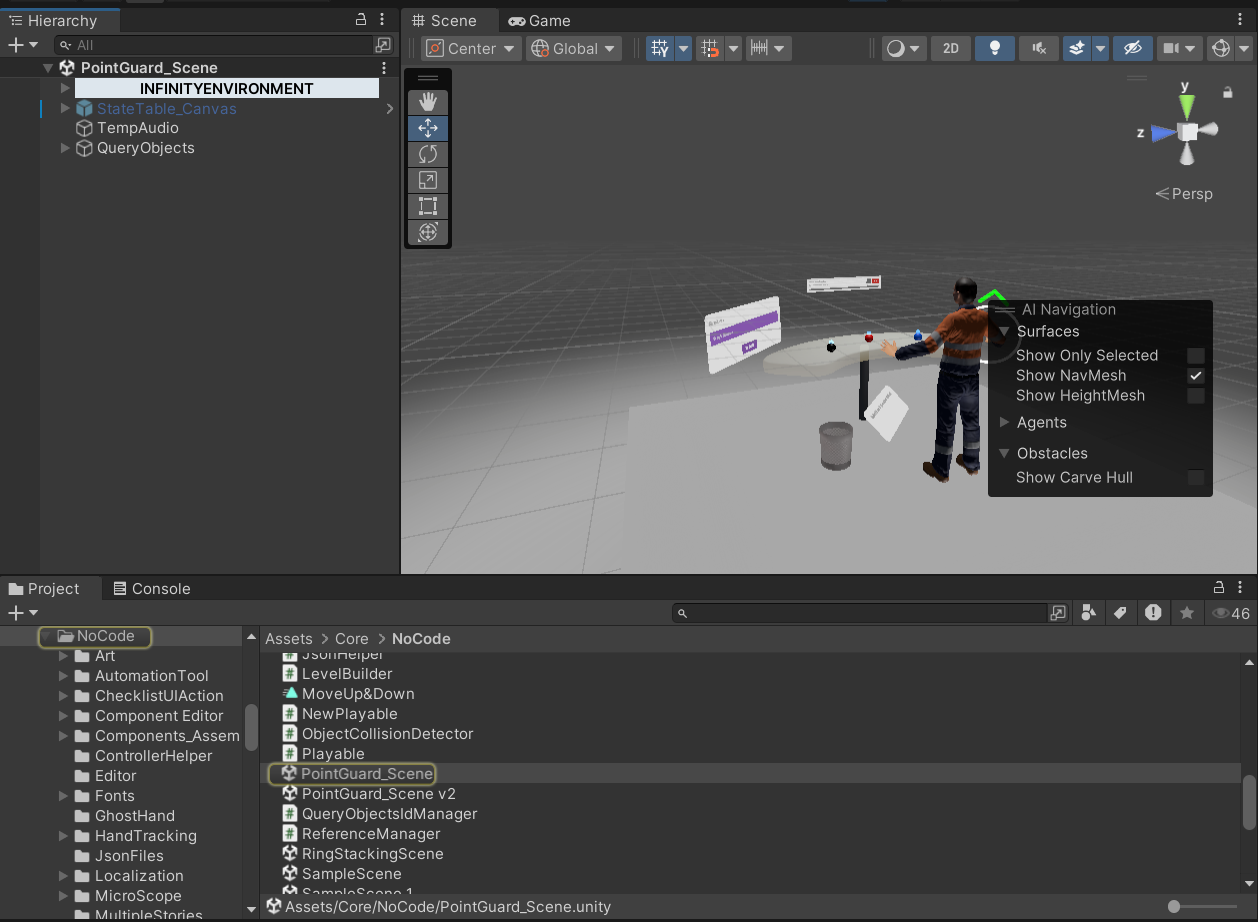
* Click on the **Play** button after navigating to the PointGuard\_scene within Unity to test if the project runs as expected.
 ### Headset Setup (Meta Quest)
Recommended to use Meta Quest Pro or 3 headset, any PCVR headset should work fine too.
You must have developer mode activated on your Meta Quest headset, please read this detailed guide by Meta on how to activate the same: [https://developers.meta.com/horizon/documentation/native/android/mobile-device-setup](https://developers.meta.com/horizon/documentation/native/android/mobile-device-setup)
It would be very handy to also have the following tools installed on youir computer:
* [Meta Quest Link app](https://www.meta.com/quest/setup/)
* [Meta Quest Developer Hub (MQDH)](https://developer.oculus.com/downloads/package/meta-quest-developer-hub/)
### Finish Setup
Setup required configuration files and Menu scene
Add API tokens for the various external services being used
## Start Using VRseBuilder
Now that the project is setup and configured correctly on your system, you can start building with VRseBuilder!
**Video Tutorial (Outdated)**\
\
If you like watching videos and learning, you can find a step by step video where we create an experience from scratch using the entire suite:
[https://www.youtube.com/playlist?list=PLmp-clgIDKouaRZsQxdfpQHFoe4-k\_slH](https://www.youtube.com/playlist?list=PLmp-clgIDKouaRZsQxdfpQHFoe4-k_slH)
Use generative AI to create your VR experience
Jump into Unity and create your experience
Understand the offerings of the backend and how it will add value for you
### Headset Setup (Meta Quest)
Recommended to use Meta Quest Pro or 3 headset, any PCVR headset should work fine too.
You must have developer mode activated on your Meta Quest headset, please read this detailed guide by Meta on how to activate the same: [https://developers.meta.com/horizon/documentation/native/android/mobile-device-setup](https://developers.meta.com/horizon/documentation/native/android/mobile-device-setup)
It would be very handy to also have the following tools installed on youir computer:
* [Meta Quest Link app](https://www.meta.com/quest/setup/)
* [Meta Quest Developer Hub (MQDH)](https://developer.oculus.com/downloads/package/meta-quest-developer-hub/)
### Finish Setup
Setup required configuration files and Menu scene
Add API tokens for the various external services being used
## Start Using VRseBuilder
Now that the project is setup and configured correctly on your system, you can start building with VRseBuilder!
**Video Tutorial (Outdated)**\
\
If you like watching videos and learning, you can find a step by step video where we create an experience from scratch using the entire suite:
[https://www.youtube.com/playlist?list=PLmp-clgIDKouaRZsQxdfpQHFoe4-k\_slH](https://www.youtube.com/playlist?list=PLmp-clgIDKouaRZsQxdfpQHFoe4-k_slH)
Use generative AI to create your VR experience
Jump into Unity and create your experience
Understand the offerings of the backend and how it will add value for you